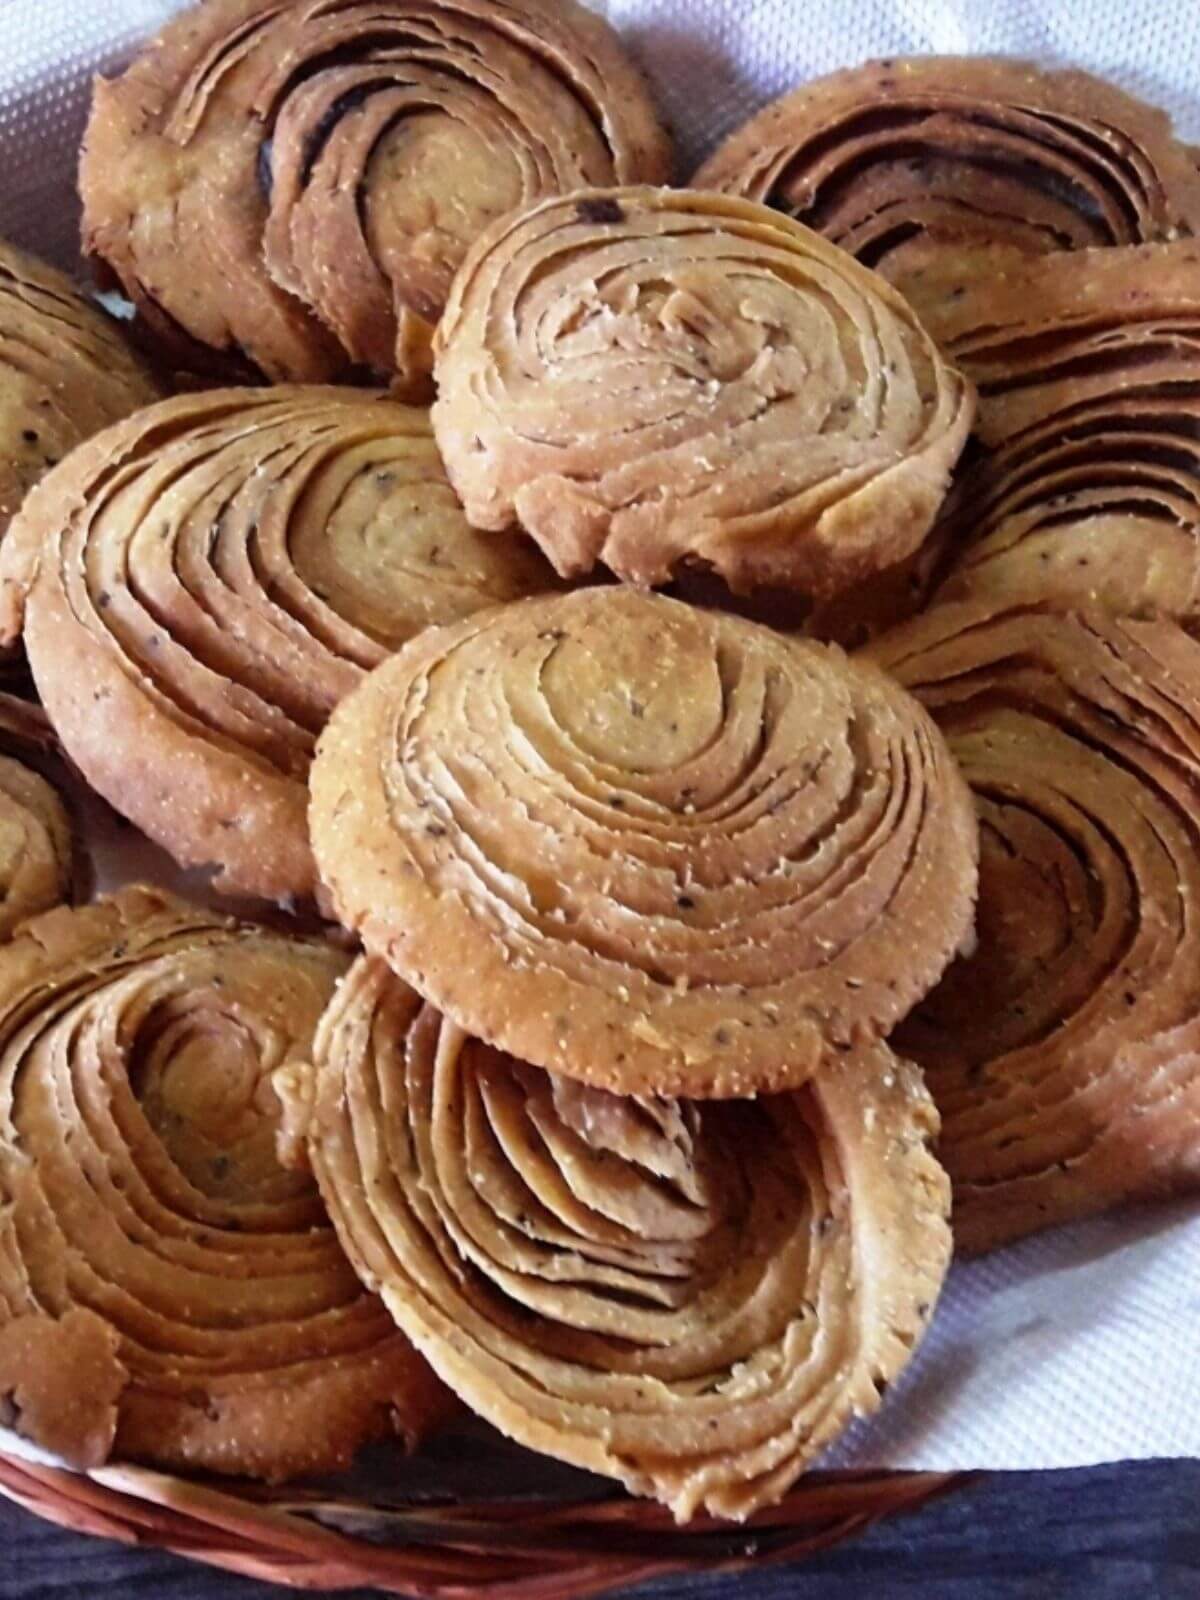
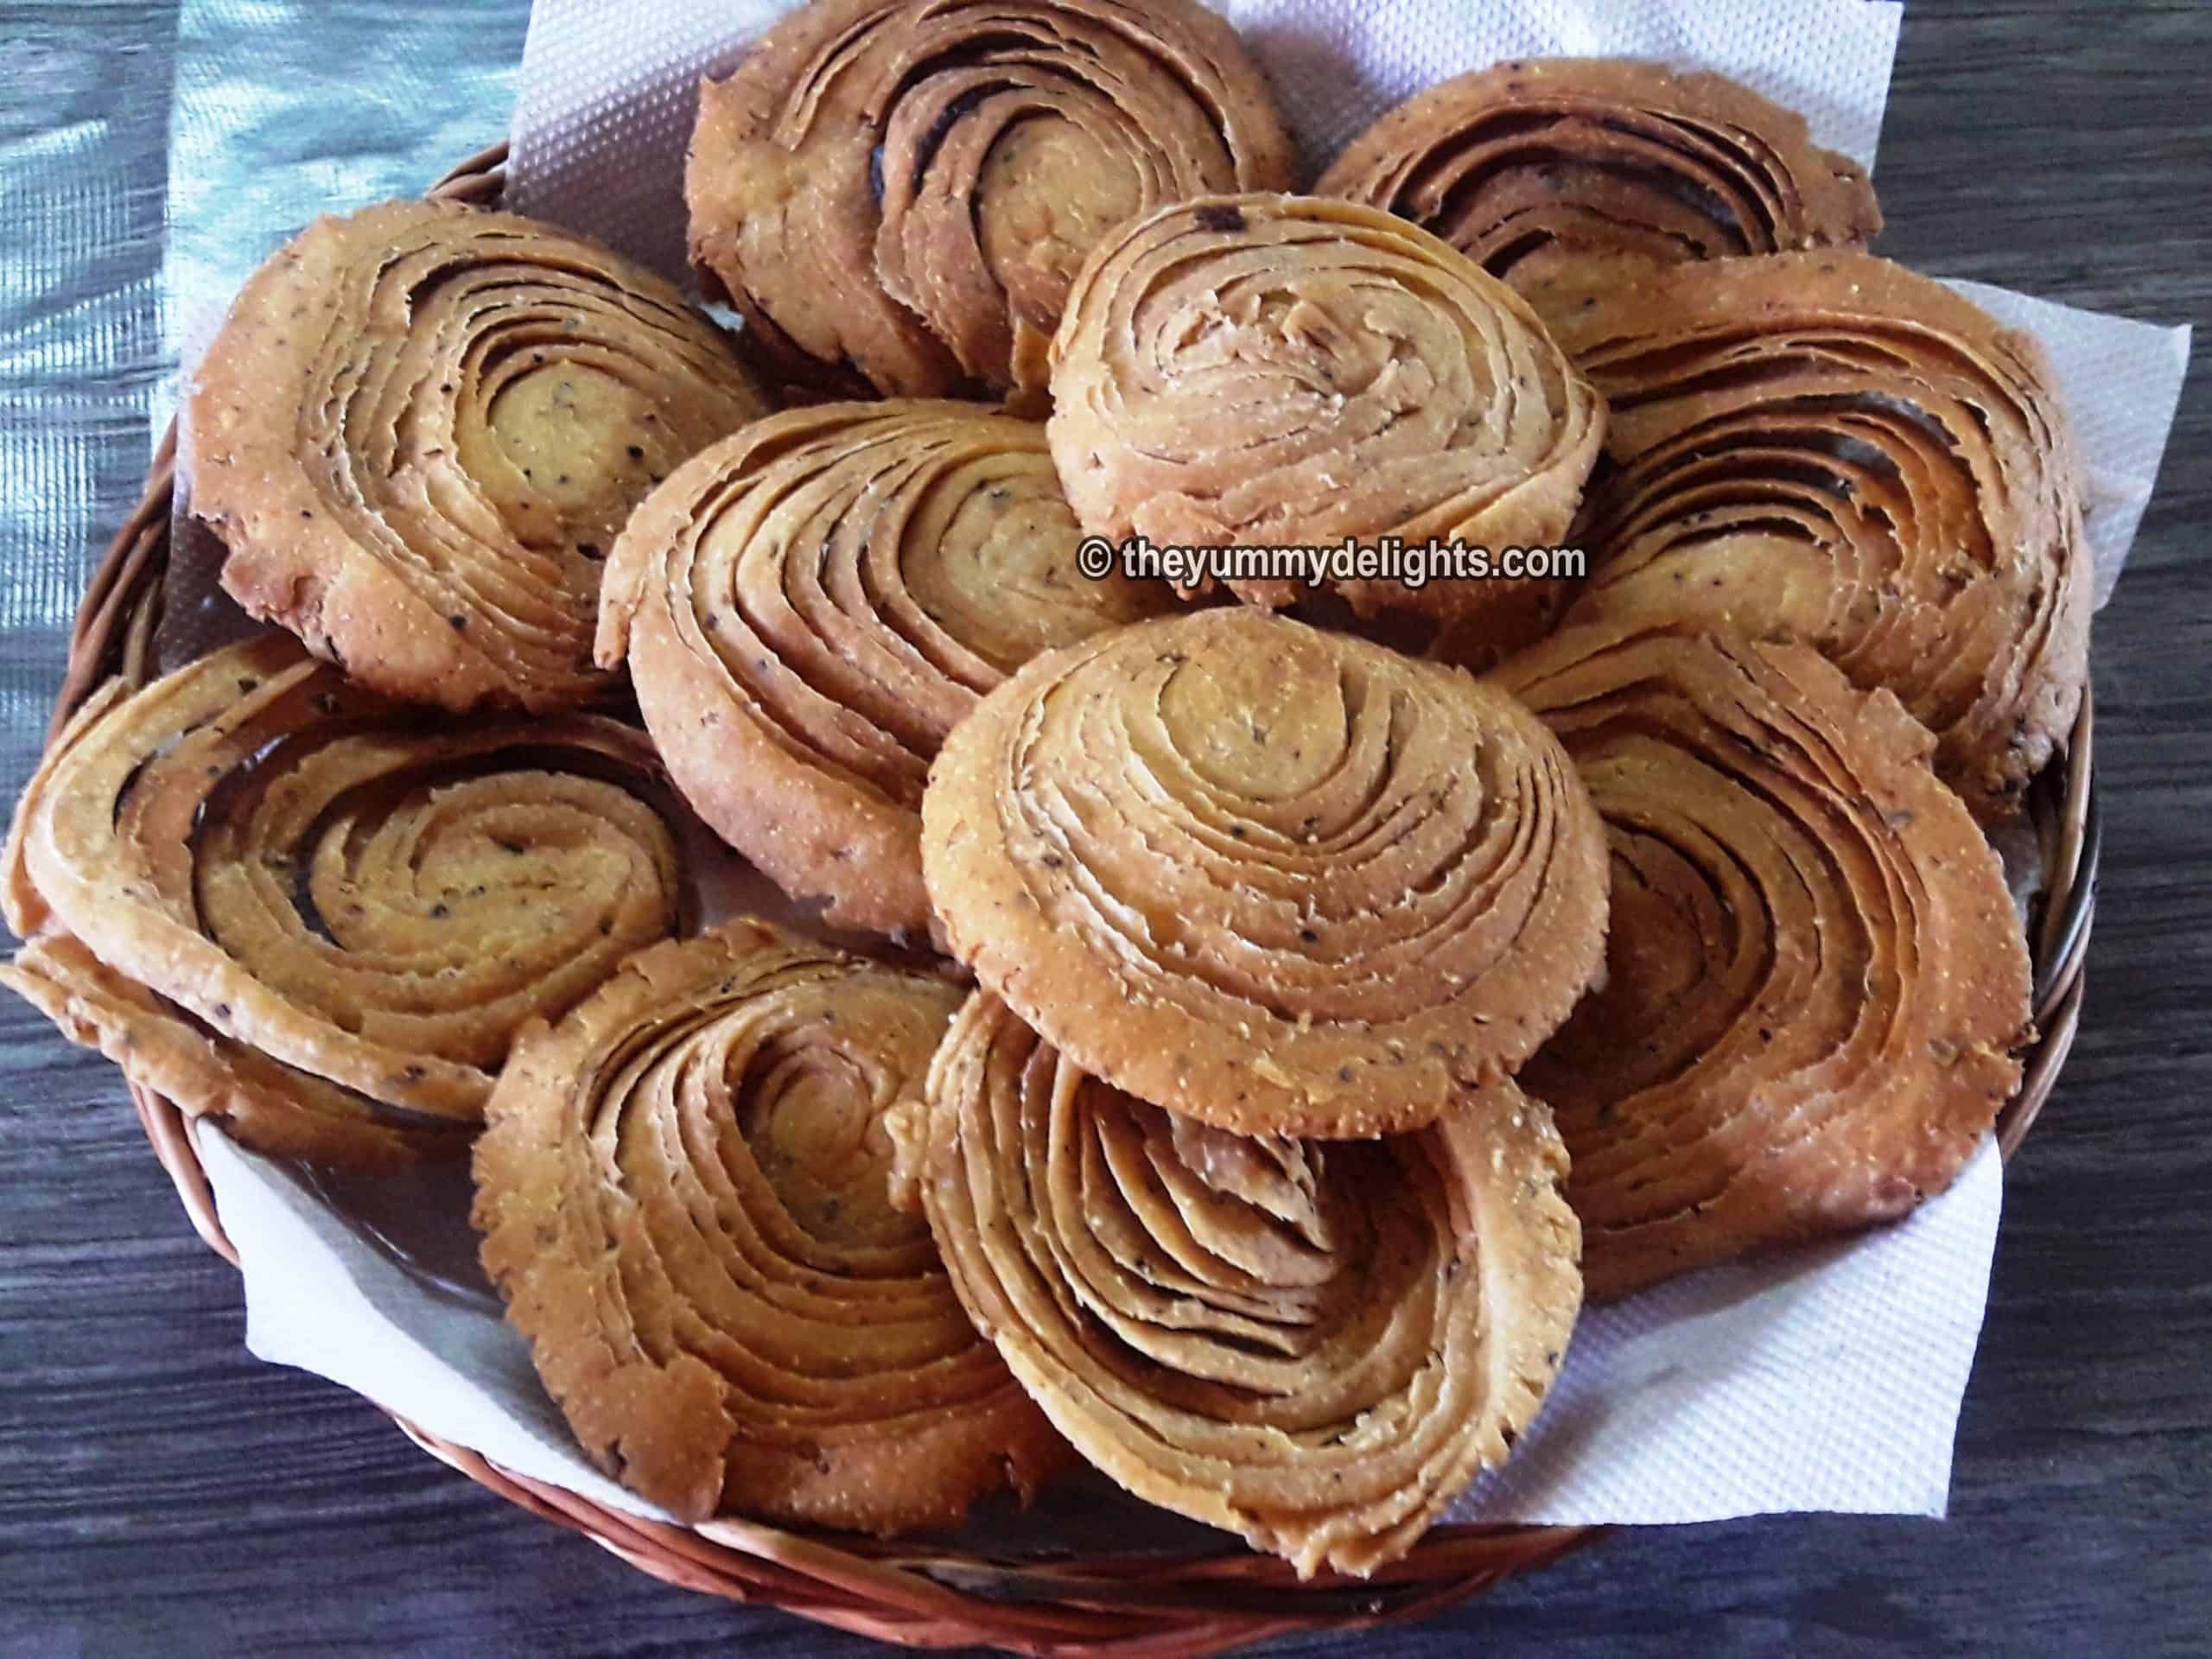
Verki puri, also known as layered puri, is a crispy and flaky tea-time snack made within 30 minutes with all-purpose flour, carom seeds, black pepper, ghee, and salt. Serve it as a snack with tea or coffee. Here's a step-by-step process of making this popular snack recipe with tips to make crispy varki puri.
What is Verki Puri?
Verki puri or layered puri is a popular tea-time snack from Western India. These crispy and flaky snacks are prepared during festivals like Holi and Diwali, like Maharashtrian bhajani chakli, another crunchy snack we love to make.
It is made from a mixture of all-purpose flour, carom seeds (ajwain), black pepper, ghee (clarified butter), and salt. Varki puri has a mild peppery flavour and tastes delicious. You can also pack it up while travelling or on picnics, just like potato nuggets, chicken nuggets, or chicken popcorn.
The dough is rolled out into thin layers. Seven layers of rolled dough are then stacked and rolled again before being deep-fried. This process creates a crispy and flaky texture, making verki puri a delightful and crunchy snack. Served with tea or coffee.
You may like to see other popular snack recipes from this website
Jump to:
Ingredient Notes
See the recipe card at the end of the post for full ingredients, quantities, and a printable version.
- Maida/all-purpose flour: It makes the layered puri crispy, light, and flaky. You can substitute it with whole-wheat flour for a healthier version.
- Flavouring: salt, pepper, and carom seeds/ajwain. Carom seeds aid in digestion and give a nice aroma to the puri. If you do not have it, skip it.
- Ghee/clarified butter: This is an important ingredient to make this layered puri. Do not skip it or substitute it with oil.
- Rava (semolina): Use fine rava/sooji/semolina to make this recipe. If you have thick Rava, then grind it for 1 or 2 pulses and then use it. Do not skip it, as it helps to make the varki puri crispy.
- Cornflour: It helps to separate the layers and keep them crisp. You can substitute it with rice flour.
How to make Verki Puri (Step-by-Step Instructions with Photos)
Step 1: Making the dough
- In a mixing bowl, combine 1.5 cups of maida, salt, 1 teaspoon of ajwain (carom seeds), 3 tablespoon hot ghee, 1 teaspoon black pepper powder, and 3 tablespoon fine rava/semolina. Be careful, we are using hot ghee here. Initially, use a spoon to combine.
- Now add water little by little and knead a semi-stiff dough. It is important to knead a semi-stiff dough because only then will the layers be crispy.
- Cover and keep the dough aside for 15 minutes. It is important to give the dough the required resting time.


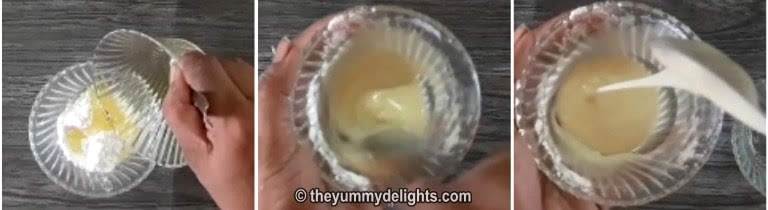
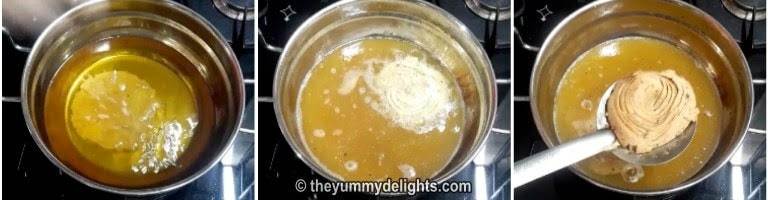
Step 2: Preparing the cornflour paste
- In another bowl, combine 1 tablespoon cornflour and 2 tablespoon ghee. It should have free-flowing consistency. You can see the picture for reference. Keep this paste aside.

Step 3 Making the Verki Puri
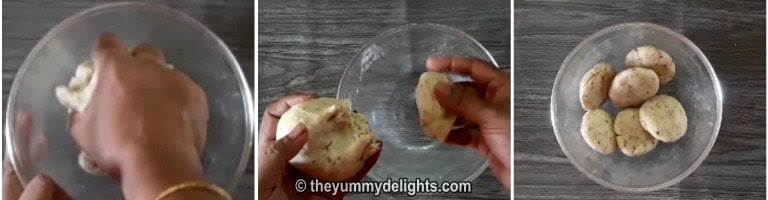
- Knead the dough again for 5 minutes.
- Next, divide the dough into equal size balls. I got 6 equal size balls.
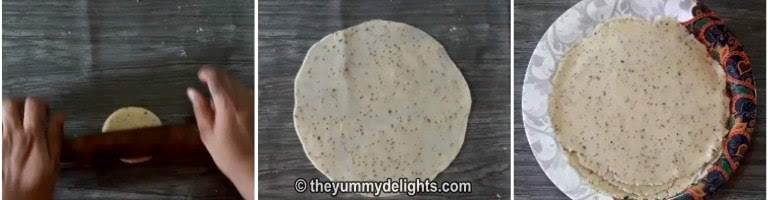
- Now, roll the dough as thin as possible with a rolling pin. Keep it aside on a plate. Same way, roll all other dough balls and keep them aside.
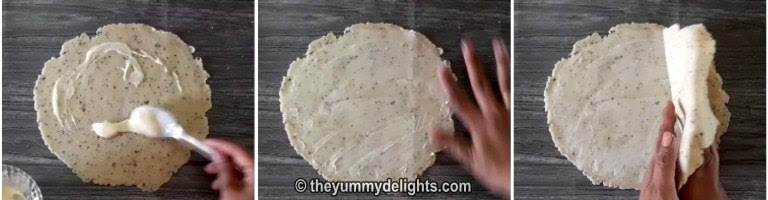
- Now place one of the rolled dough on a clean surface and apply the cornflour paste evenly over it.
- Place another rolled dough over it. Again apply the paste.
- Repeat the same process until the last rolled dough is placed.
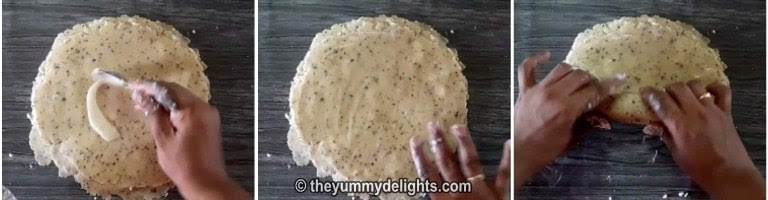
- Apply the paste over the last rolled dough.
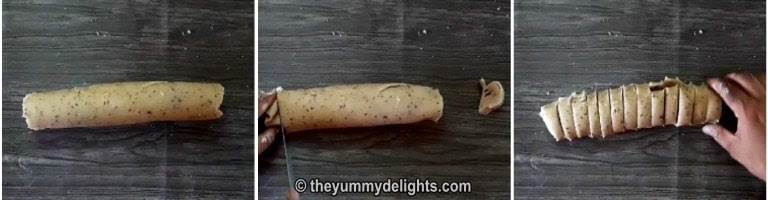
- Roll all the layers together tightly from one end to another and form a log.
- Remove both ends with a knife. Cut the rest of the log into 1-inch pieces.
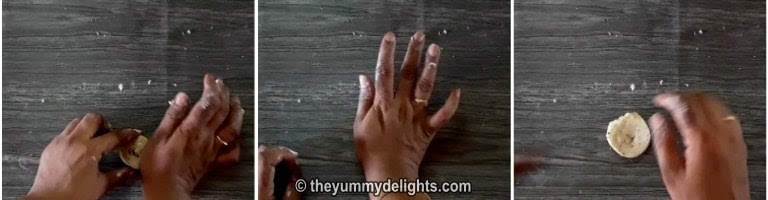
- Take one of the pieces and flatten it gently with the help of the palm.
- Roll it again and make medium size puri. No need to roll it too thin. Same way, prepare the rest of the puri.

Step 4: Frying the Layered puri
- Heat oil in a heavy-bottom pan over medium heat.
- Fry the puri until it is lightly golden on both sides.
- Once cooled, store it in an airtight container.
If you make this recipe, please leave a comment and a starred review below.
And, consider following me on social media so we can stay connected. I’m on Facebook, Pinterest, and YouTube!
Recipe Card
Verki puri recipe
Video

Equipment
- Heavy bottom pan or wok
Ingredients
- 1.5 cups maida/all purpose flour
- salt to taste
- 1 teaspoon carom seeds/ajwain
- 3 tablespoon ghee/clarified butter
- 1 teaspoon black pepper powder
- 3 tablespoon fine rava/sooji/semolina
- water to knead the dough
For making the cornflour paste
- 2 tablespoon ghee/clarified butter
- 1 tablespoon corn flour
Instructions
Step 1 Making the Dough
- In a mixing bowl, combine maida, salt, ajwain, hot ghee, black pepper powder and rava/sooji. Be careful, we are using hot ghee here, initially combine with a spoon.
- Now add water little by little and knead a semi-stiff dough. It is important, if the dough is semi-stiff then only layers will be crispy.
- Cover and keep the dough aside for 15 minutes.
Step 2 Making the Cornflour paste
- In another bowl, combine cornflour and ghee. It should have free-flowing consistency. Keep this paste aside.
Step 3 Making the Verki Puri
- Knead the dough again for 5 minutes.
- Divide the dough into equal size balls. I got 6 equal size balls.
- Roll the dough as thin as possible with a rolling pin. Keep it aside on a plate.
- Same way roll all other dough balls and keep it aside.
- Now place one of the rolled dough on a clean surface and apply the cornflour and ghee paste over it.
- Place another rolled dough over it. Again apply the paste.
- Repeat the same process until the last rolled dough is placed.
- Apply the paste over the last rolled dough.
- Roll all the layers together tightly from one end to another and form a log.
- Remove both ends with a knife.
- Cut the rest of the log into 1-inch pieces.
- Take one of the cut pieces and flatten it gently with the help of the palm.
- Roll it again and make medium size puri. No need to roll it too thin. Same way, prepare the rest of the puri.
Step 4 Frying the Layered puri
- Heat oil in a heavy bottom pan on medium flame.
- Fry the puri until it is lightly golden on both the sides.
- Once cooled, store it in an airtight container. Stays good for 15 days.
Notes
- Ghee is an important ingredient that makes puri flaky. If you replace ghee with oil, the puri will not be that flaky. Taste and crispiness will be the same.
- You can replace corn flour with rice flour.
- Knead a semi-stiff dough.
- Keep the consistency of the cornflour paste free-flowing.
- Roll the dough as thin as possible before forming the log.
- After cutting 1-inch pieces from the log, press it gently and then roll it.
- While frying the puri the oil should not be too hot. It should be medium hot.
- Do not overcrowd the pan while deep frying the puri. It will reduce the temperature of the oil and the puri will not be crisp.
- Use only that much oil that is needed for deep frying. The oil will turn cloudy after deep frying the puri. So use oil as required.
Nutrition
Nutrition information is automatically calculated, so should only be used as an approximation.
Tips to make the crispy verki puri recipe
- Ghee is an important ingredient that makes puri flaky. If you replace ghee with oil, the puri will not be that flaky. The taste and crispiness will be the same.
- You can replace corn flour with rice flour. Cornflour mixed with ghee helps to separate the layers in this puri recipe.
- Keep the consistency of the cornflour paste free-flowing.
- Knead a semi-stiff dough.
- Roll the dough as thin as possible before forming the log.
- While frying verki puri, the oil should not be too hot. It should be medium hot.
- Do not overcrowd the pan while deep frying the puri. It will reduce the temperature of the oil and the puri will not be crisp.
- Use only that much oil that is needed for deep frying. The oil will turn cloudy after deep frying the puri. So use oil as required.
FAQ
For making verki puri, ghee/clarified butter plays an important role. The layer separates with the application of ghee and cornflour paste. You can replace corn flour with rice flour.
I tried to replace ghee with oil but the texture is not flaky. You will get the same taste and crispiness but to have flaky verki puri you have to make it with ghee.
Yes, you can. Maida (or all-purpose flour) gives you the crispiest puri. However, you can make it with whole-wheat flour too. But the puri will not be that crisp and light.
Storage Suggestion
- Let the layered puri cool down to room temperature.
- Store them in an airtight container at room temperature. It stays good for 15 days.
Serving Suggestion
- You can serve it with tomato ketchup or sauce.
- It also goes very well with raw mango pickles or sweet pickles.
- Pair it with either tea or coffee.
Variations that you can try
- You can make this tea-time snack completely healthy by substituting Maida with whole-wheat flour.
- You can change the seasoning for this recipe. Like skip carom seeds and add Italian seasoning to them. Or add dry fenugreek leaves (kasuri methi).
- Add a dash of red pepper flakes to make it spicy. But skip adding it if you are making it for kids.

Anonymous
Tried it for the first time.. Didn't flake as I wanted but I think it's sumtin I didn't do quite rite. I'm willing to try again though.
Gauri
Good recipe. I will try it today.
Preeti Nayak
Thanks 🙂
Gauri
Thanks for the share
Rajasri
I tried. Thanks for sharing.
Preeti Nayak
Thanks for the feedback 🙂